새로운 강의는 이제 https://memi.dev 에서 진행합니다.
memi가 Vue & Firebase로 직접 만든 새로운 사이트를 소개합니다.
Flutter와 Firebase로 Android iOS 둘 다 만들기 8 파이어스토어 사용해보기
플러터에서 파이어스토어를 사용해봅니다.
파이어스토어 활성화
파이어베이스 콘솔로 이동합니다.
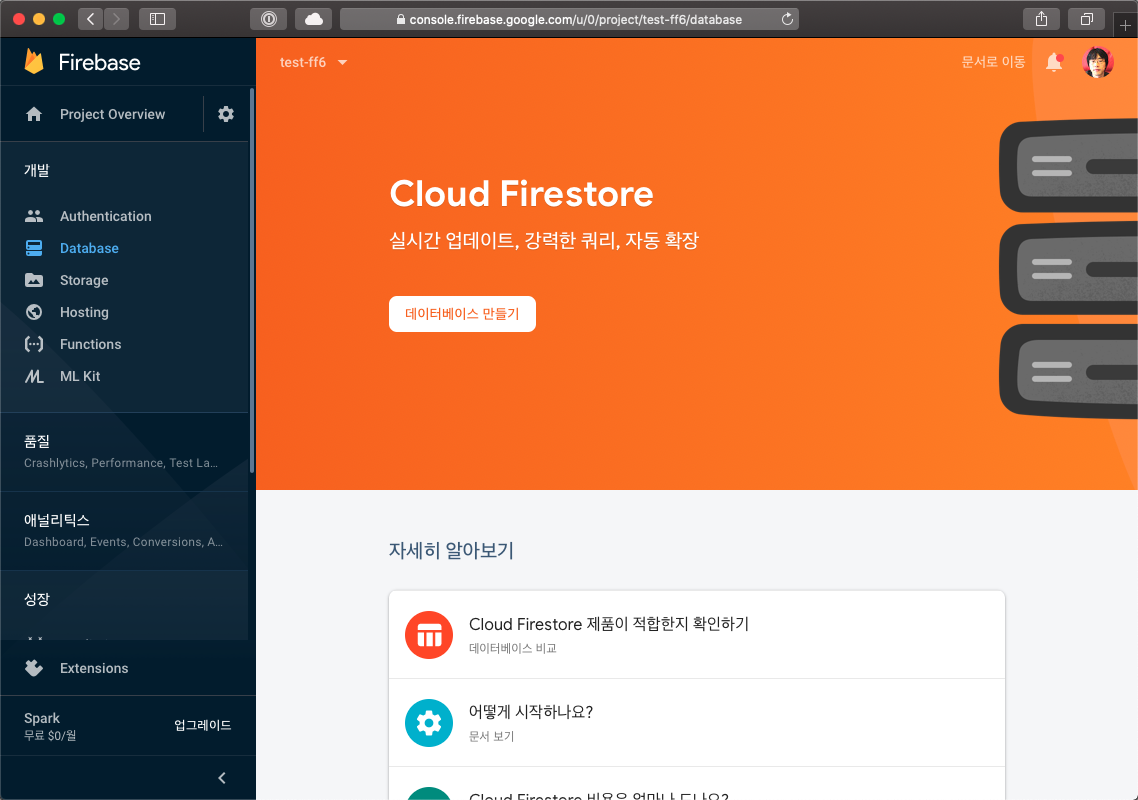
데이터베이스 만들기를 클릭합니다.
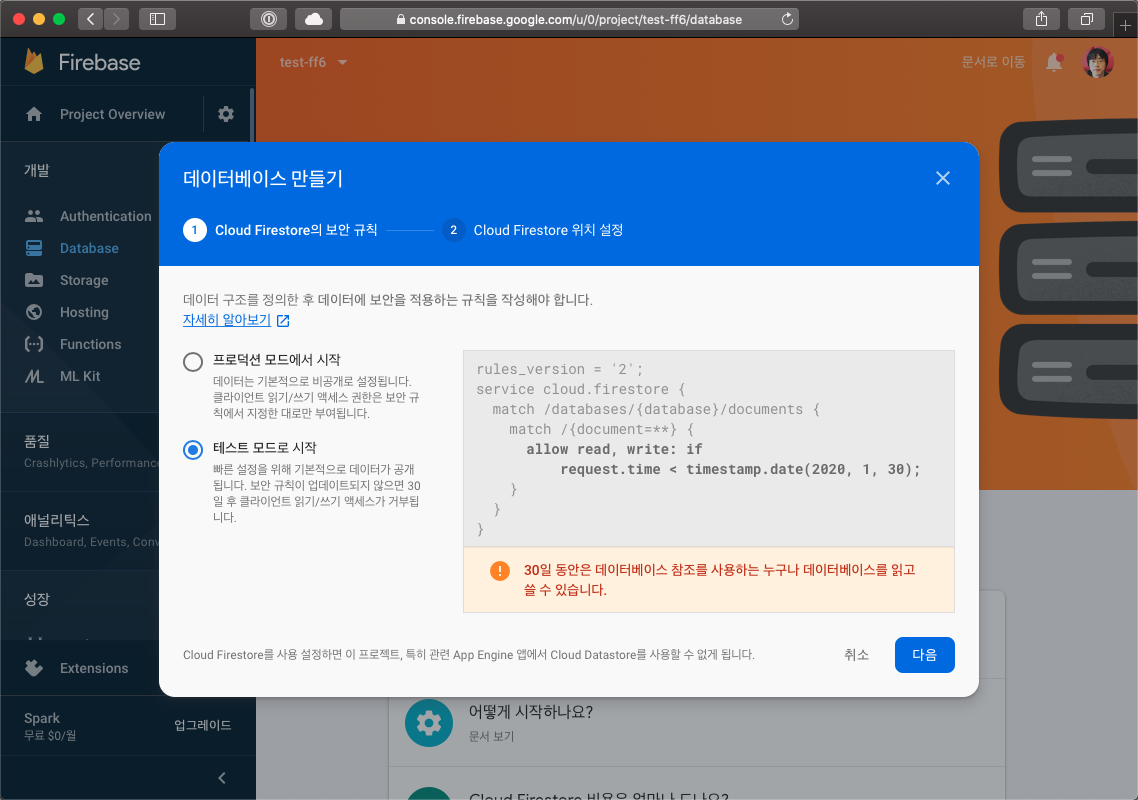
우선 테스트모드로 시작합니다.(나중에 규칙은 변경할 것입니다.)
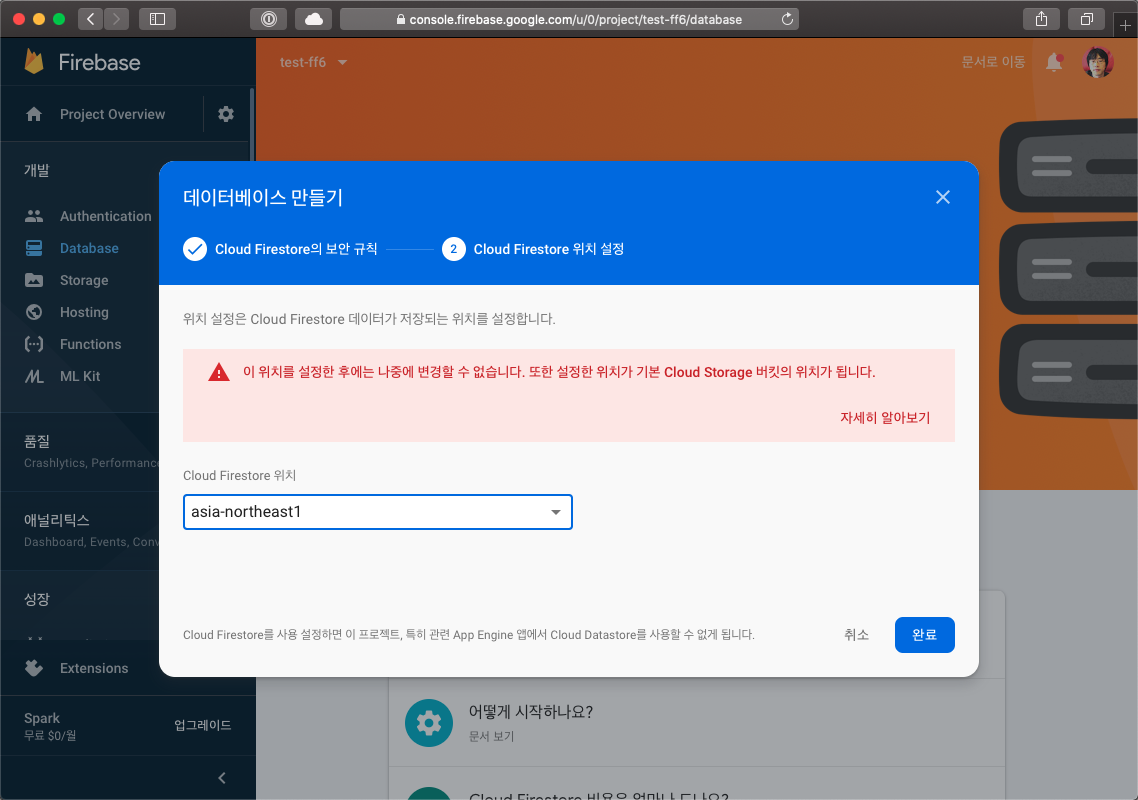
asia-northeast1(도쿄)로 선택합니다.(아직 한국 리전이 없어서 도쿄가 가장 가깝고 빠릅니다..)
라이브러리 설치
라이브러리: https://pub.dev/packages/cloud_firestore#-installing-tab-
pubspec.yarl
dependencies:
  flutter:
    sdk: flutter

  cupertino_icons: ^0.1.2
  firebase_auth:
  google_sign_in:
  cloud_firestore: ^0.13.0+1
pubspec.yarl에 cloud_firestore를 추가하고 저장하면 설치됩니다.
사용할 곳에서 해당 라이브러리를 import하면 됩니다.
import 'package:cloud_firestore/cloud_firestore.dart';
CRUD 테스트
어떤 데이터베이스든 결국 CRUD 4가지만 할 줄 알면 나머지는 응용일 뿐이라고 생각합니다.
- Create: 만들기
- Read: 읽기
- Update: 수정하기
- Delete: 지우기
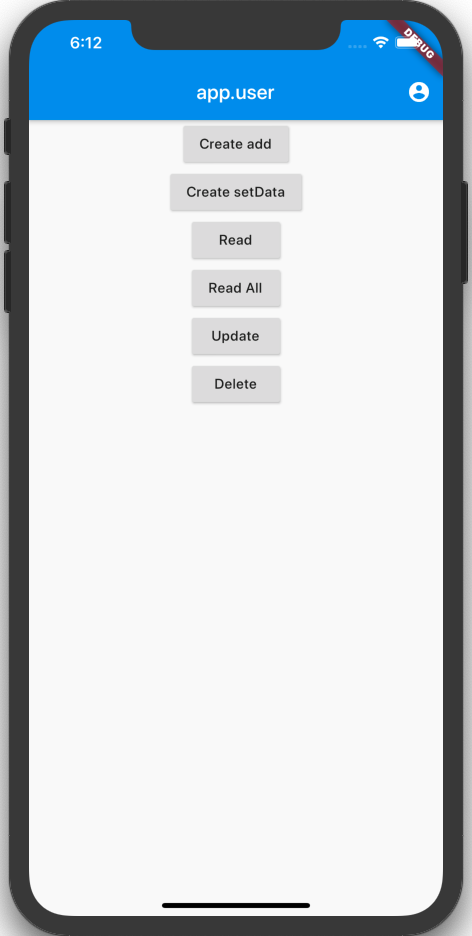
테스트 환경 만들기
메인 페이지에 버튼을 4개 추가해봅니다.
  Widget _main () {
    return Scaffold(
      appBar: AppBar(
        title: Text('app.user'),
        actions: <Widget>[
          IconButton(
            icon: Icon(Icons.account_circle),
            onPressed: () {
              _signOut();
            },
          )
        ],
      ),
      body: Center(
        child: Column(
          children: <Widget>[
            RaisedButton(
              child: Text('Create add'),
              onPressed: () {
              },
            ),
            RaisedButton(
              child: Text('Create setData'),
              onPressed: () {
              },
            ),
            RaisedButton(
              child: Text('Create'),
              onPressed: () {
              },
            ),
            RaisedButton(
              child: Text('Read'),
              onPressed: () {
              },
            ),
            RaisedButton(
              child: Text('Read All'),
              onPressed: () {
              },
            ),
            RaisedButton(
              child: Text('Update'),
              onPressed: () {
              },
            ),
            RaisedButton(
              child: Text('Delete'),
              onPressed: () {
              },
            )
          ],
        )
      )
    );
  }
참고: https://pub.dev/packages/cloud_firestore#-readme-tab-
Create
문서를 생성해봅니다.
파이어스토어에서 문서를 생성하는 방법은 크게 두가지 입니다.
- add: 도큐먼트 이름을 지정하지 않고 생성
- setData: 도큐먼트 이름을 지정해서 생성
해보면 느낌을 알 수 있습니다.
RaisedButton(
  child: Text('Create add'),
  onPressed: () {
    Firestore.instance
      .collection('test')
      .add({ 'aaaa': 'bbbb', 'num': 1111 });
  },
),
RaisedButton(
  child: Text('Create setData'),
  onPressed: () {
    Firestore.instance
      .collection('test')
      .document('t1')
      .setData({ 'aaaa': 'xxxx', 'num': 1234 });
  },
),
위의 코드로 실행해보면
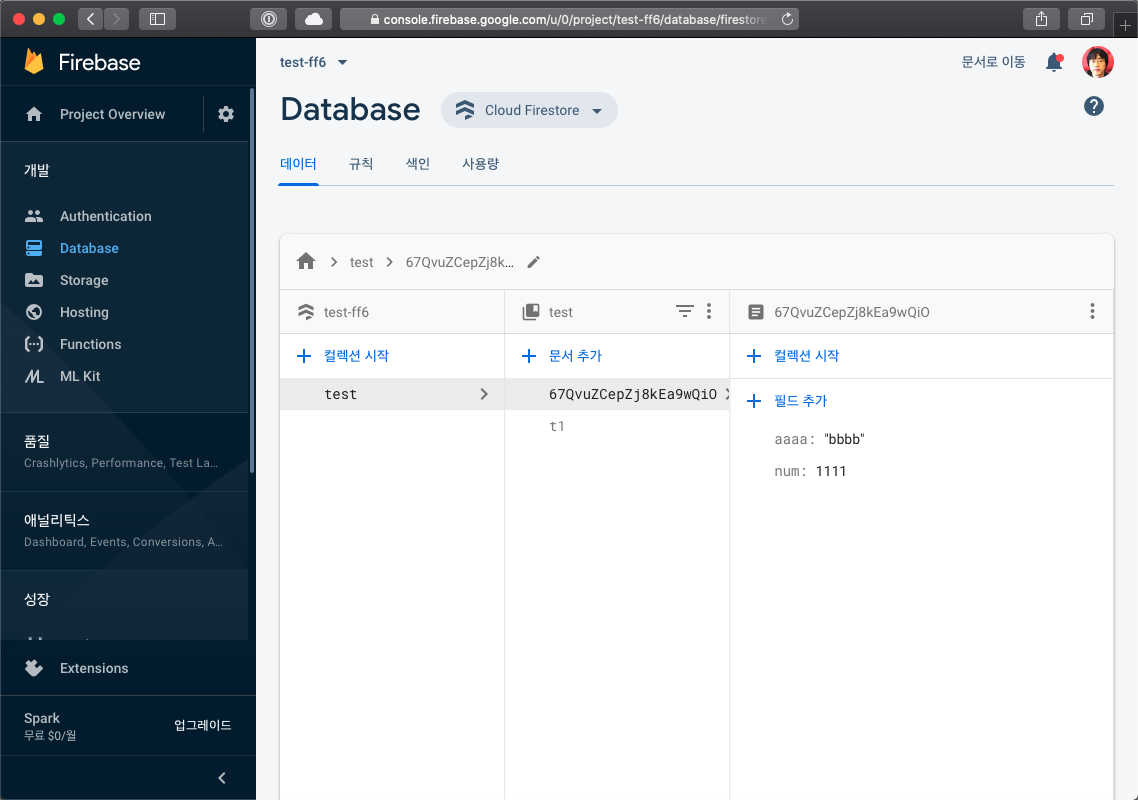
임의의 문서 아이디가 어떤 느낌인지 알 수 있습니다.
add는 로깅 처럼 쌓이는 데이터에 적합하고, setData는 세팅값 같은 지정된 데이터에 적합할 것 같습니다.
add는 noSQL의 경우 mongodb의 _id, rdbms의 경우 autoincrement id 같은 느낌입니다.
setData의 경우 값이 없으면 생성이고 있을 경우 덮어쓰게 됩니다.
mongodb의 upsert 같은 느낌입니다.
Read
이미 t1이라는 문서를 만들어 두었으니 읽어봅니다.
문서 하나 읽기
t1이라는 문서를 하나 읽어봅니다.
RaisedButton(
  child: Text('Read'),
  onPressed: () {
    Firestore.instance
      .collection('test')
      .document('t1')
      .get()
      .then((DocumentSnapshot ds) {
        print(ds['aaaa']);
        print(ds['num']);
      })
      .catchError((onError) => print(onError));
  },
),
DocumentSnapshot이란 형식으로 결과가 나오며 해당항목의 필드값을 지정해야 읽을 수 있습니다.
모든 데이터베이스에서 가장 어려운 부분은 읽는 부분입니다. 검색도 해야하고, 정렬도 해야되기 때문인데.. 우선은 ‘읽었다’ 라는 것만 체크하고 넘어갑니다.
문서 여러개 읽기
RaisedButton(
  child: Text('Read All'),
  onPressed: () {
    Firestore.instance
      .collection('test')
      .getDocuments()
      .then((QuerySnapshot sn) {
        sn.documents.forEach((doc) => print(doc.data));
      })
      .catchError((onError) => print(onError));
  },
),
getDocuments라는 메써드로 스냅샷이란 결과를 받아옵니다.
sn.documents는 현재 2개가 있으며 반복문을 통해 데이터를 읽어볼 수 있습니다.
정리된 문서도 없고.. 해서 해당 라이브러리 내부로 들어가서 알아낸 결과임..
Update
수정은 두가지 방법이 있습니다.
- setData: 데이터 덮어쓰기
- updateData: 데이터 일부 변경
setData는 위에서 언급한 내용과 같습니다.
RaisedButton(
  child: Text('Update'),
  onPressed: () {
    Firestore.instance
      .collection('test')
      .document('t1')
      .updateData({ 'aaaa': 'cccc', 'num': 4444, 'xxx': 1234 });
  },
),
기존의 값들을 변경하고 새로운 필드도 추가할 수 있습니다.
updateData 라는 메써드가 공식홈 어디를 뒤져봐도 안나와서 안타까웠습니다…
Delete
문서 아이디(현재 t1)만 알고 있으면 쉽게 제거할 수 있습니다.
RaisedButton(
  child: Text('Delete'),
  onPressed: () {
    Firestore.instance
      .collection('test')
      .document('t1')
      .delete();
  },
)
댓글남기기