새로운 강의는 이제 https://memi.dev 에서 진행합니다.
memi가 Vue & Firebase로 직접 만든 새로운 사이트를 소개합니다.
NUXT로 혼자 웹사이트 만들기 9 파이어베이스(firebase) 파이어스토어(firestore) CRUD 해보기
파이어스토어를 이용해서 CRUD 를 시험해보겠습니다.
개요
파이어스토어의 데이터를 읽고 쓰는 방법은 두가지 입니다.
- 프론트
- 파이어펑션스 REST API
이 중 프론트에서 읽고 쓰는 방법으로 먼저 구현해보겠습니다.
페이지 만들기
pages/crud.vue를 만들어 줍니다.
pages/crud.vue
<template>
  <v-card>
    <v-card-title>
      crud test
    </v-card-title>
    <v-data-table>
    </v-data-table>
    <v-card-actions>
      <v-spacer />
    </v-card-actions>
  </v-card>
</template>
<script>
export default {
  data() {
    return {}
  },
  methods: {}
}
</script>
뷰티파이의 데이터테이블을 이용해서 리스트를 표시하고 나머지는 버튼과 다이얼로그를 이용하는 컨셉으로 간단히 만들어봅니다.
요소들 채우기
<template>
  <v-card>
    <v-card-title>
      crud test
    </v-card-title>
    <v-data-table :headers="headers" :items="items">
      <template v-slot:items="props">
        <td>{{ props.item.id }}</td>
        <td>{{ props.item.createAt }}</td>
        <td>{{ props.item.title }}</td>
        <td>{{ props.item.content }}</td>
        <td>
          <v-btn icon small @click="openDialog('update', props.item)"
            ><v-icon>create</v-icon>
          </v-btn>
          <v-btn icon small @click="remove"><v-icon>delete</v-icon></v-btn>
        </td>
      </template>
    </v-data-table>
    <v-card-actions>
      <v-spacer />
      <v-btn @click="openDialog('create')">글쓰기</v-btn>
    </v-card-actions>
    <v-dialog v-model="dialog">
      <v-card>
        <v-card-title>작성 및 수정</v-card-title>
        <v-card-text>
          <v-form>
            <v-text-field v-model="form.title"></v-text-field>
            <v-textarea v-model="form.content"></v-textarea>
          </v-form>
        </v-card-text>
        <v-card-actions>
          <v-btn v-if="mode === 'create'" @click="create">작성</v-btn>
          <v-btn v-else @click="update">수정</v-btn>
        </v-card-actions>
      </v-card>
    </v-dialog>
  </v-card>
</template>
<script>
export default {
  data() {
    return {
      dialog: false,
      mode: 'create',
      form: {
        title: '',
        content: ''
      },
      headers: [
        { value: 'id', text: 'id' },
        { value: 'createAt', text: '작성 날짜' },
        { value: 'title', text: '제목' },
        { value: 'content', text: '내용' },
        { value: 'actions', text: '기능' }
      ],
      items: [],
      selectedItem: null
    }
  },
  mounted() {},
  methods: {
    openDialog(mode, sel) {
      this.mode = mode
      if (mode === 'create') {
        this.form.title = ''
        this.form.content = ''
      } else {
        this.form.title = sel.title
        this.form.content = sel.content
        this.selectedItem = sel
      }
      this.dialog = true
    },
    create() {
      const item = {
        id: Math.floor(Math.random() * 10000),
        createAt: new Date(),
        title: this.form.title,
        content: this.form.content
      }
      this.items.push(item)
      this.dialog = false
    },
    read() {
      console.log('r')
    },
    update() {
      console.log('u')
    },
    remove() {
      console.log('d')
    }
  }
}
</script>
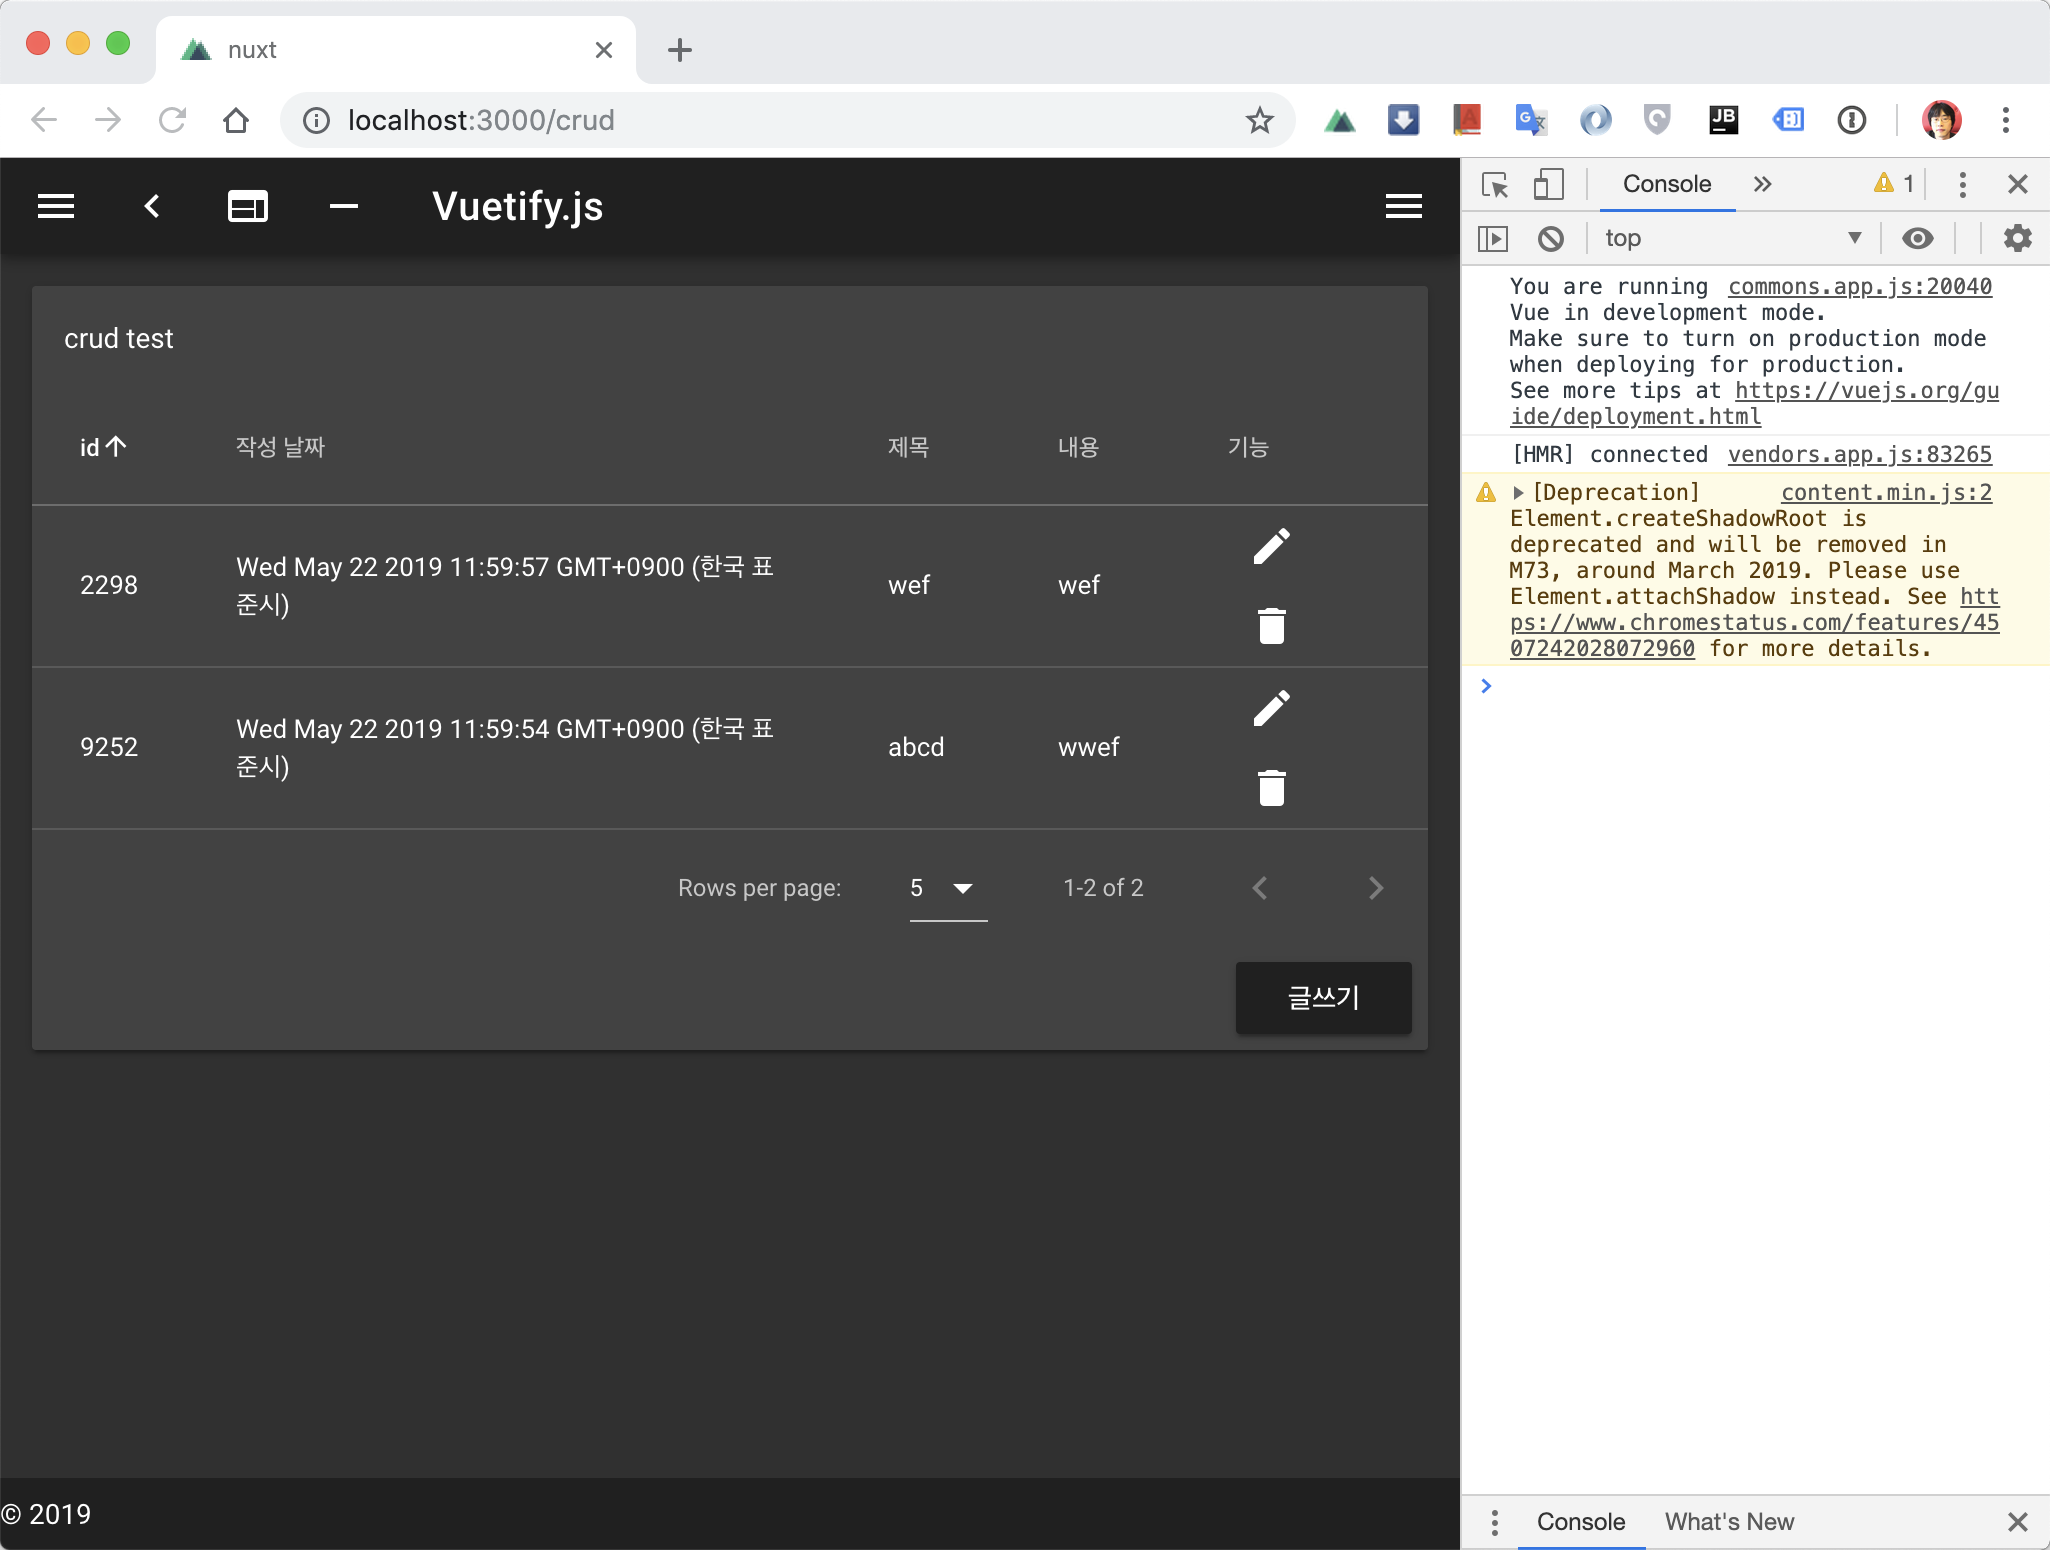
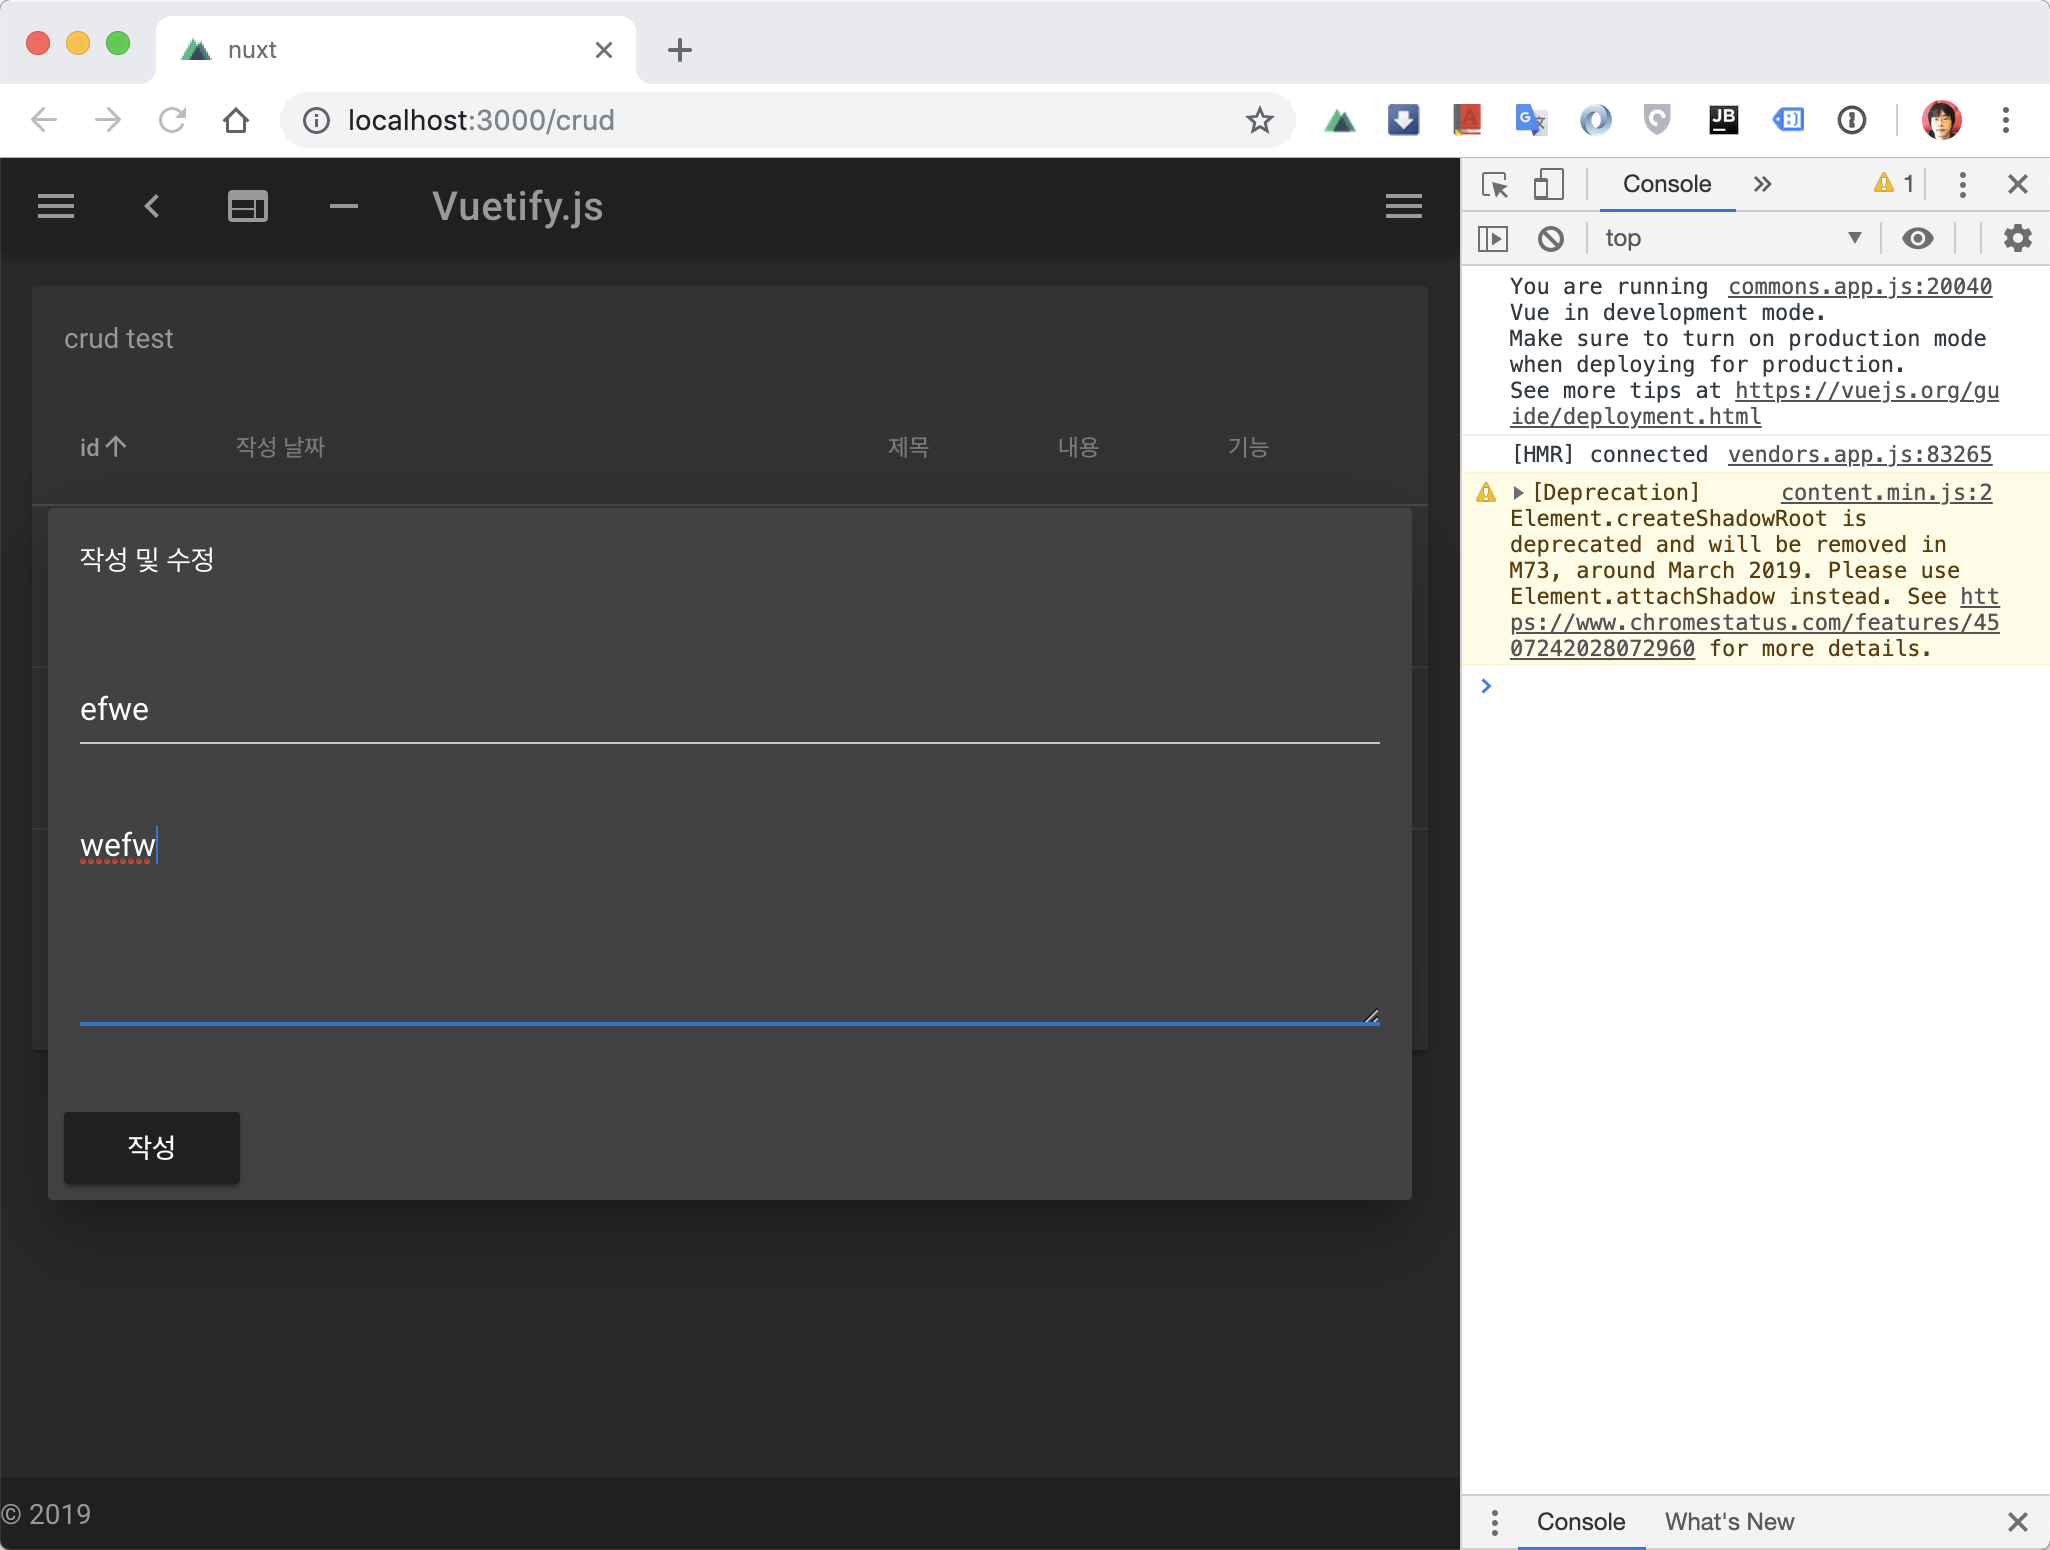
간단하게 데이터테이블을 이용해서 UI환경을 조성해봤습니다.
목록 데이터테이블
쓰기 다이얼로그
어려우면 기존 NEMV 강좌의 뷰티파이 부분만 조금 보고 오시면 됩니다.
이제 실제 디비에 연결하여 데이터만 변경해주면 되는 것이죠~
CREATE
async create() {
  const item = Object.assign(this.form)
  item.createAt = new Date()
  const s = await this.$db.collection('boards').add(item)
  console.log(s)
  this.dialog = false
  await this.read()
},
- 위에 만들어둔 함수를 어씽크로 만듭니다.
- this.form의 내용을 item에 복사합니다.(item = this.form 이렇게하면 절대 안됩니다.)
- 발생시간(createAt)을 넣고 디비에 저장합니다.
- 작성후 다이얼로그를 닫아줍니다.
add의 경우 id를 자동 추가입니다.
set의 경우 id를 지정해서 써야 합니다.
READ
쓰기만 해서는 확인이 안되기 때문에 바로 읽어보는 함수를 제작합니다.
async read() {
  const s = await this.$db.collection('boards').get()
  this.items = []
  s.forEach(d => {
    const r = d.data()
    const item = Object.assign(r)
    item.id = d.id
    item.createAt = r.createAt.toDate().toLocaleString()
    this.items.push(item)
  })
},
- const s 는 스냅샷(snapshot)이란 겁니다.
- 스냅샷안의 도큐먼트(doc)들을 불러오기 위해 forEach를 돌려줍니다.
- 도큐먼트(d)는 바로 사용이 안되고(d.title X) data()를 호출해야 데이터를 꺼낼 수 있습니다.
- 데이터를 꺼내 날데이터(r) 받아둡니다.
- 데이터와는 달리 id의 경우 도큐먼트에 있기 때문에 document.id 로 받을 수 있습니다.
- 날짜(createAt)의 경우 toDate()로 받지 않으면 알아볼 수가 없습니다.
- item에 잘 정돈해서 items에 추가해주면 끝입니다.
UPDATE
async update() {
  await this.$db
    .collection('boards')
    .doc(this.selectedItem.id)
    .update(this.form)
  this.dialog = false
  await this.read()
},
- 업데이트와 삭제는 항상 도큐먼트 id가 필요합니다.
- 도큐먼트의 id는 다이얼로그를 띄울 때 저장해두었습니다.
- update() 만하면 끝입니다.
DELETE
async remove(p) {
  await this.$db
    .collection('boards')
    .doc(p.id)
    .delete()
  await this.read()
}
- 지우는 것은 당연히 도큐먼트 id만 있으면 쉽게 끝납니다.
소스
본문 내용과 정확히 일치하진 않으니 참고용으로 보시면 됩니다.
깃허브 링크: https://github.com/fkkmemi/nuxt
# 해당 코드 확인하기
$ git checkout tags/v0.0.9
댓글남기기