새로운 강의는 이제 https://memi.dev 에서 진행합니다.
memi가 Vue & Firebase로 직접 만든 새로운 사이트를 소개합니다.
CentOS7 VM Setup
간만에 개발용 vm을 만들어야해서 다시 기록해본다.
password 변경
$ passwd
firewall setting
기본적으로 ssh는 이미 열려있다.. 안그럼 들오지도 못하니까..
나머지는 다 닫힌채로 방화벽 활성상태
사용할 80, 443, 27017을 열어준다.
$ firewall-cmd --zone=public --add-service=http --permanent
$ firewall-cmd --zone=public --add-service=https --permanent
$ firewall-cmd --zone=public --add-port=27017/tcp --permanent
$ firewall-cmd --reload
$ cat /etc/firewalld/zones/public.xml
<?xml version="1.0" encoding="utf-8"?>
<zone>
  <short>Public</short>
  <description>For use in public areas. You do not trust the other computers on networks to not harm your computer. Only selected incoming connections are accepted.</description>
  <service name="dhcpv6-client"/>
  <service name="http"/>
  <service name="ssh"/>
  <service name="https"/>
  <port protocol="tcp" port="27017"/>
</zone>
IP white listing(대역 허용)은 이미 상단에 다 되어 있기 때문에 이정도만 세팅한다.
package update
KT의 경우 커널은 업데이트 하지말라고 해서 추가..(18.8.9)
처음 시작할 때는 커널업데이트가 되는데 예전 것을 업데이트하면 망하는 것 같다.
$ yum update --exclude=kernel* -y
hard disk add
번들로 들어 있는 80기가는 테스트디비 저장용으로 사용
$ fdisk -l
$ fdisk /dev/xvdb

# partition set
n enter
p enter
enter
enter
enter
ctrl+c

# mount
$ mkfs.ext4 /dev/xvdb
$ mkdir /data
$ chmod 777 /data
$ mount -t ext4 /dev/xvdb /data

# regist mount

$ ls -l /dev/disk/by-uuid #uuid copy

# fstab modify
$ vi /etc/fstab
# i 하단에 추가
UUID=copieduuid /data                   ext4    defaults        1 2
# :wq 저장후 나감
node.js install
$ curl --silent --location https://rpm.nodesource.com/setup_10.x | sudo bash -
$ yum -y install nodejs
$ node -v
v10.8.0
$ npm -v
6.2.0
mongoDB install
repo make
$ vi /etc/yum.repos.d/mongodb-org-3.6.repo
[mongodb-org-3.6]
name=MongoDB Repository
baseurl=https://repo.mongodb.org/yum/redhat/$releasever/mongodb-org/3.6/x86_64/
gpgcheck=1
enabled=1
gpgkey=https://www.mongodb.org/static/pgp/server-3.6.asc
mongodb-org install
$ yum install -y mongodb-org
storage make
$ mkdir /data/mongo
$ chown mongod:mongod mongo
mongod.conf file change
$ vi /etc/mongod.conf
dbPath: /data/mongo #/var/lib/mongo
bindIp: 0.0.0.0 # 127.0.0.1
service start
$ service mongod start
Redirecting to /bin/systemctl start  mongod.service
disable-transparent-hugepages
$ vi /etc/init.d/disable-transparent-hugepages
#!/bin/bash
### BEGIN INIT INFO
# Provides:          disable-transparent-hugepages
# Required-Start:    $local_fs
# Required-Stop:
# X-Start-Before:    mongod mongodb-mms-automation-agent
# Default-Start:     2 3 4 5
# Default-Stop:      0 1 6
# Short-Description: Disable Linux transparent huge pages
# Description:       Disable Linux transparent huge pages, to improve
#                    database performance.
### END INIT INFO

case $1 in
  start)
    if [ -d /sys/kernel/mm/transparent_hugepage ]; then
      thp_path=/sys/kernel/mm/transparent_hugepage
    elif [ -d /sys/kernel/mm/redhat_transparent_hugepage ]; then
      thp_path=/sys/kernel/mm/redhat_transparent_hugepage
    else
      return 0
    fi

    echo 'never' > ${thp_path}/enabled
    echo 'never' > ${thp_path}/defrag

    re='^[0-1]+$'
    if [[ $(cat ${thp_path}/khugepaged/defrag) =~ $re ]]
    then
      # RHEL 7
      echo 0  > ${thp_path}/khugepaged/defrag
    else
      # RHEL 6
      echo 'no' > ${thp_path}/khugepaged/defrag
    fi

    unset re
    unset thp_path
    ;;
esac
$ chmod 755 /etc/init.d/disable-transparent-hugepages
$ chkconfig --add disable-transparent-hugepages
$ reboot
security
admin account setting
$ mongo
> use admin
> db.createUser(
    {
        user: "adminid",
        pwd: "password",
        roles: [ { role: "userAdminAnyDatabase", db: "admin" } ]
    }
  );
Successfully added user: {
	"user" : "adminid",
	"roles" : [
		{
			"role" : "userAdminAnyDatabase",
			"db" : "admin"
		}
	]
}
# ctrl+c
> exit
$ service mongod restart
db account setting
$ mongo
> use dbname
> db.createUser(
    {
        user: "dbid",
        pwd: "dbpassword",
        roles: [ { role: "readWrite", db: "dbname" }, { role: "dbAdmin", db: "dbname" } ]
    }
  );
# ctrl+c
Successfully added user: {
	"user" : "dbid",
	"roles" : [
		{
			"role" : "readWrite",
			"db" : "dbname"
		},
		{
		    "role" : "dbAdmin",
		    "db" : "dbname"
		}
	]
}
> exit
mongod.conf file change for security
$ vi /etc/mongod.conf
add security
security:
  authorization: enabled
$ service mongod restart
test
$ mongo -u "adminid" -p --authenticationDatabase "admin"
MongoDB shell version v3.6.3
Enter password:
connecting to: mongodb://127.0.0.1:27017
MongoDB server version: 3.6.3
> show dbs;
admin   0.000GB
config  0.000GB
local   0.000GB
git ssh regist
git update
기본 깔려있는 git v1은 pm2 deploy 문제가 있음
$ yum install http://opensource.wandisco.com/centos/7/git/x86_64/wandisco-git-release-7-2.noarch.rpm
$ yum install git
$ git --version
git version 2.14.1
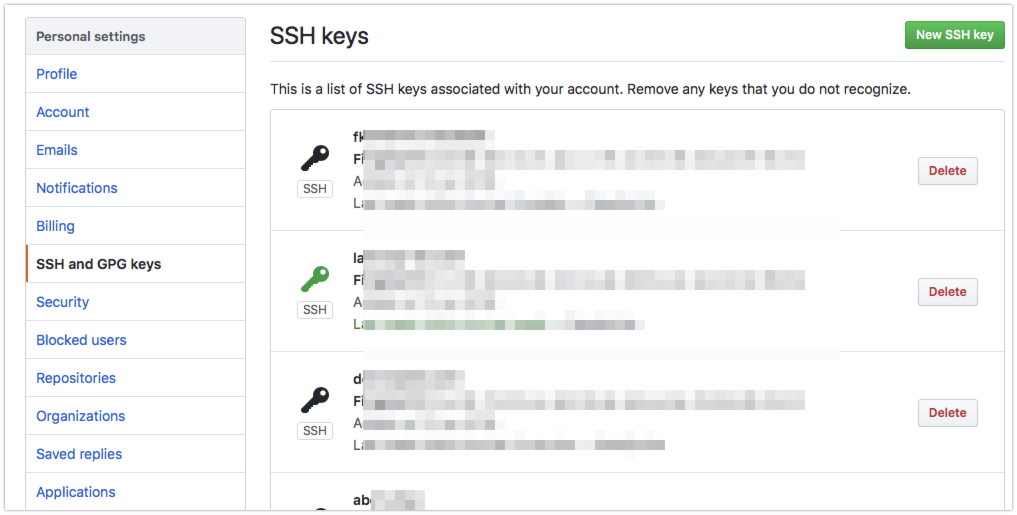
github.com > personal setting
generate and copy key
$ ssh-keygen -t rsa -b 4096 -C "aaa@bbb.com"

# copy key
$ cat ~/.ssh/id_rsa.pub
github.com > personal setting > new key button

regist
$ ssh -T git@github.com
The authenticity of host 'github.com (111.222.111.222)' can't be established.
RSA key fingerprint is xx:xx:xx.
Are you sure you want to continue connecting (yes/no)? yes
Warning: Permanently added 'github.com,111.222.111.222' (RSA) to the list of known hosts.
Hi aaa! You've successfully authenticated, but GitHub does not provide shell access.
git clone
web source 가 있을 곳 위치에 복사
$ mkdir /var/www
$ cd /var/www
$ git clone git@github.com:fkkmemi/projectname.git
client ssh connect
서버접속시 키 복사(암호를 입력하지 않기 위함)
$ ssh-copy-id account@serverurl -p12345
yarn install
package install update
$ curl --silent --location https://dl.yarnpkg.com/rpm/yarn.repo | sudo tee /etc/yum.repos.d/yarn.repo
$ yum install yarn
pm2 install
node run
$ npm i pm2 -g
$ pm2 install pm2-logrotate
$ pm2 startup

# after run
$ pm2 save

# log retain 7day
$ pm2 set pm2-logrotate:retain 7
pm2 startup을 했다는 것은 /etc/systemd/system/pm2-root.service 가 생성되었다는 것
/etc/systemd/system/pm2-root.service
ExecStart=/var/www/xxx/source/build.sh
필요할 경우 수동 시작 파일을 지정한다.
재시작시 yarn, yarn build 후 pm2 start를 하려는 경우에 필요