새로운 강의는 이제 https://memi.dev 에서 진행합니다.
memi가 Vue & Firebase로 직접 만든 새로운 사이트를 소개합니다.
NUXT로 혼자 웹사이트 만들기 4 플러그인 설치
전역으로 사용할 플러그인 설치에 대해 알아봅니다.
모듈들(node_modules)은 누구(백엔드, 프론트엔드)의 것인가
한집에 백,프론트엔드가 같이 살고 있습니다.
설치된 모듈은 누구의 것일까요?
실험해보면 알 수 있겠죠~
모듈 사용해보기
moment 설치
$ yarn add moment
테스트 예로 적합한 모먼트를 사용해서 시험해보겠습니다.
백엔드에서 사용해보기
api/hello/index.js
import moment from 'moment'
const router = require('express').Router()

router.get('/', (req, res, next) => {
  const ss = []
  ss.push('hello backend')
  ss.push(Math.random())
  ss.push(
    moment()
      .toDate()
      .toLocaleTimeString()
  )
  res.send(ss.join('-'))
})

module.exports = router
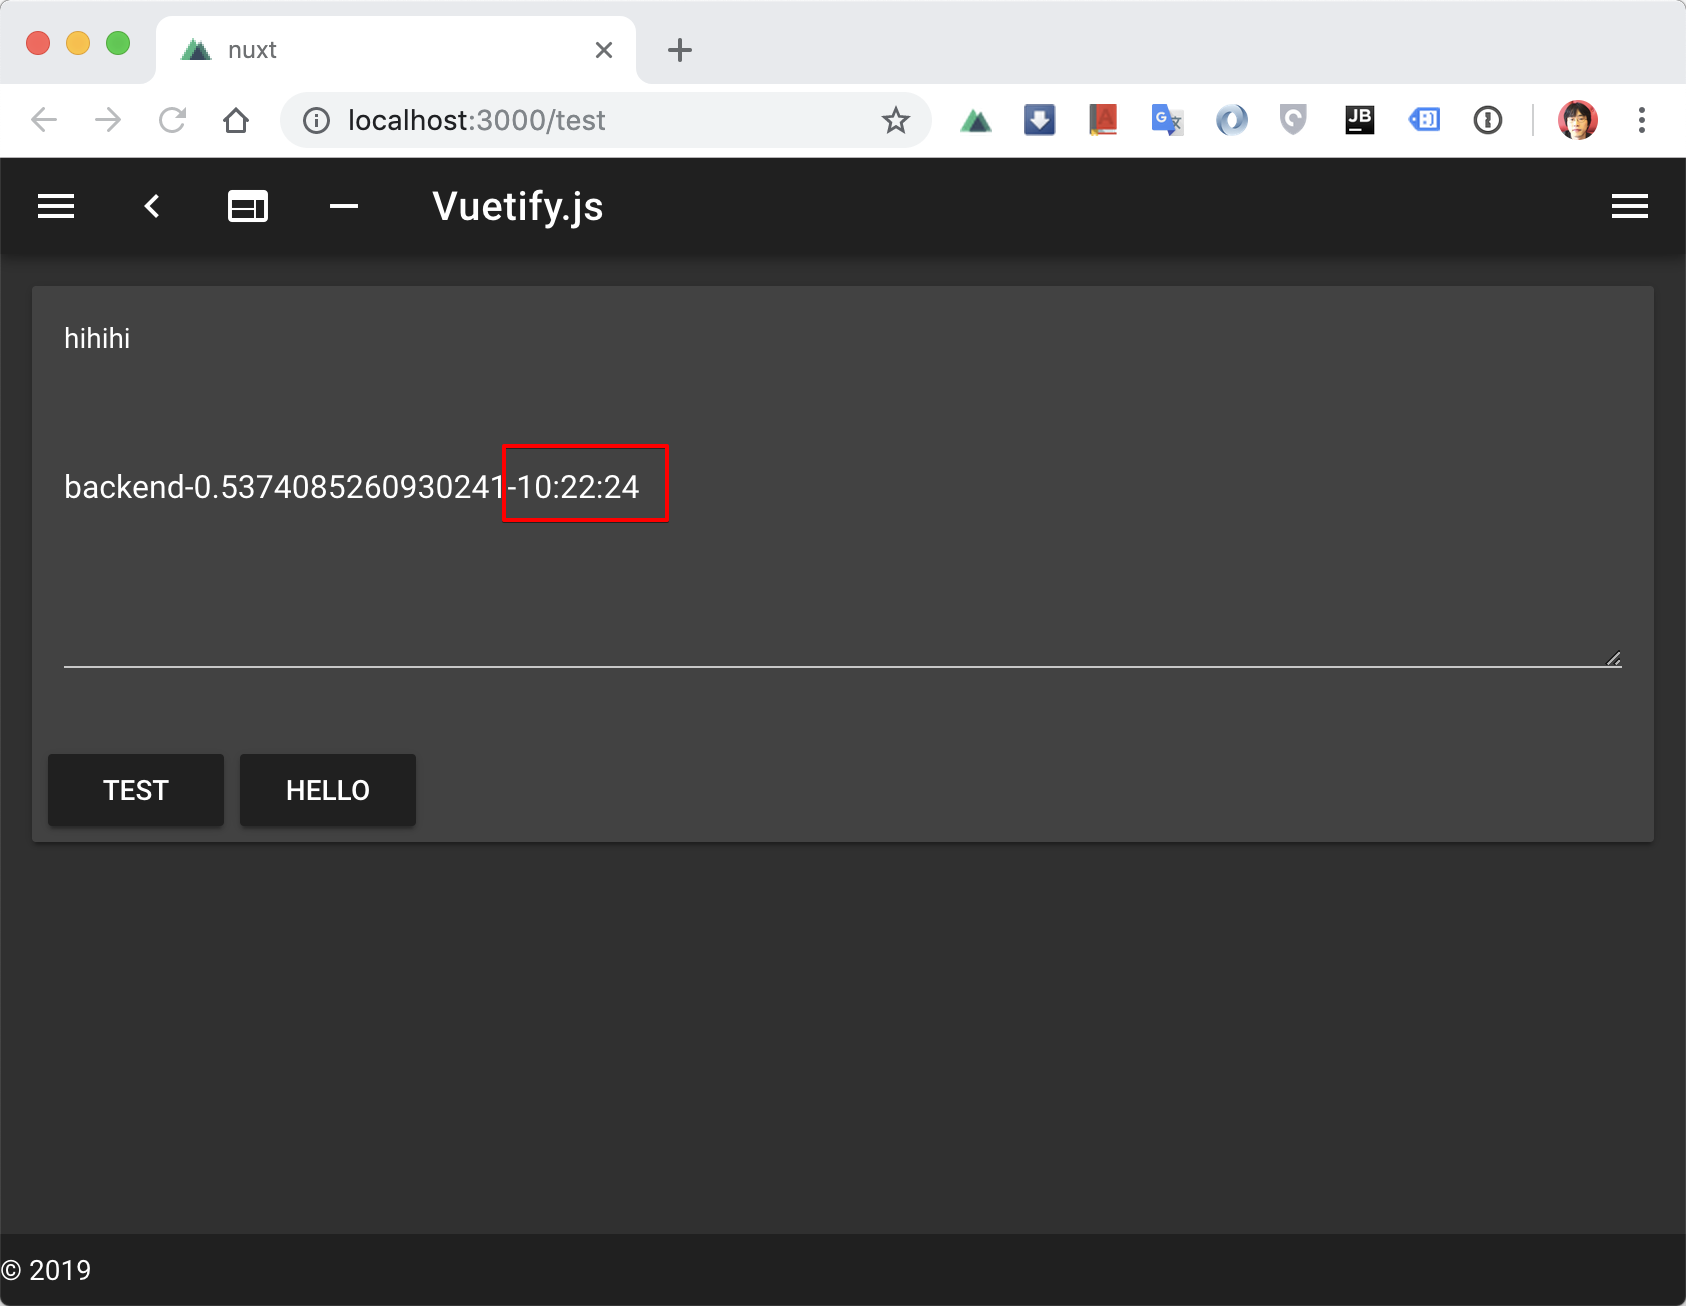
백엔드 API에 가볍게 현재 시간을 넣어서 응답을 주게 변경해봤습니다.
프론트에서 HELLO 버튼을 눌러보면 잘 되는 것을 확인 할 수 있습니다.
프론트에서 사용해보기
pages/test.vue
<template>
<v-card>
<!-- -->
<v-btn @click="moment">
moment
</v-btn>
</v-card-actions>
</v-card>
</template>
<script>
import moment from 'moment'
export default {
data() {
return {
text: 'wwww'
}
},
methods: {
// ..
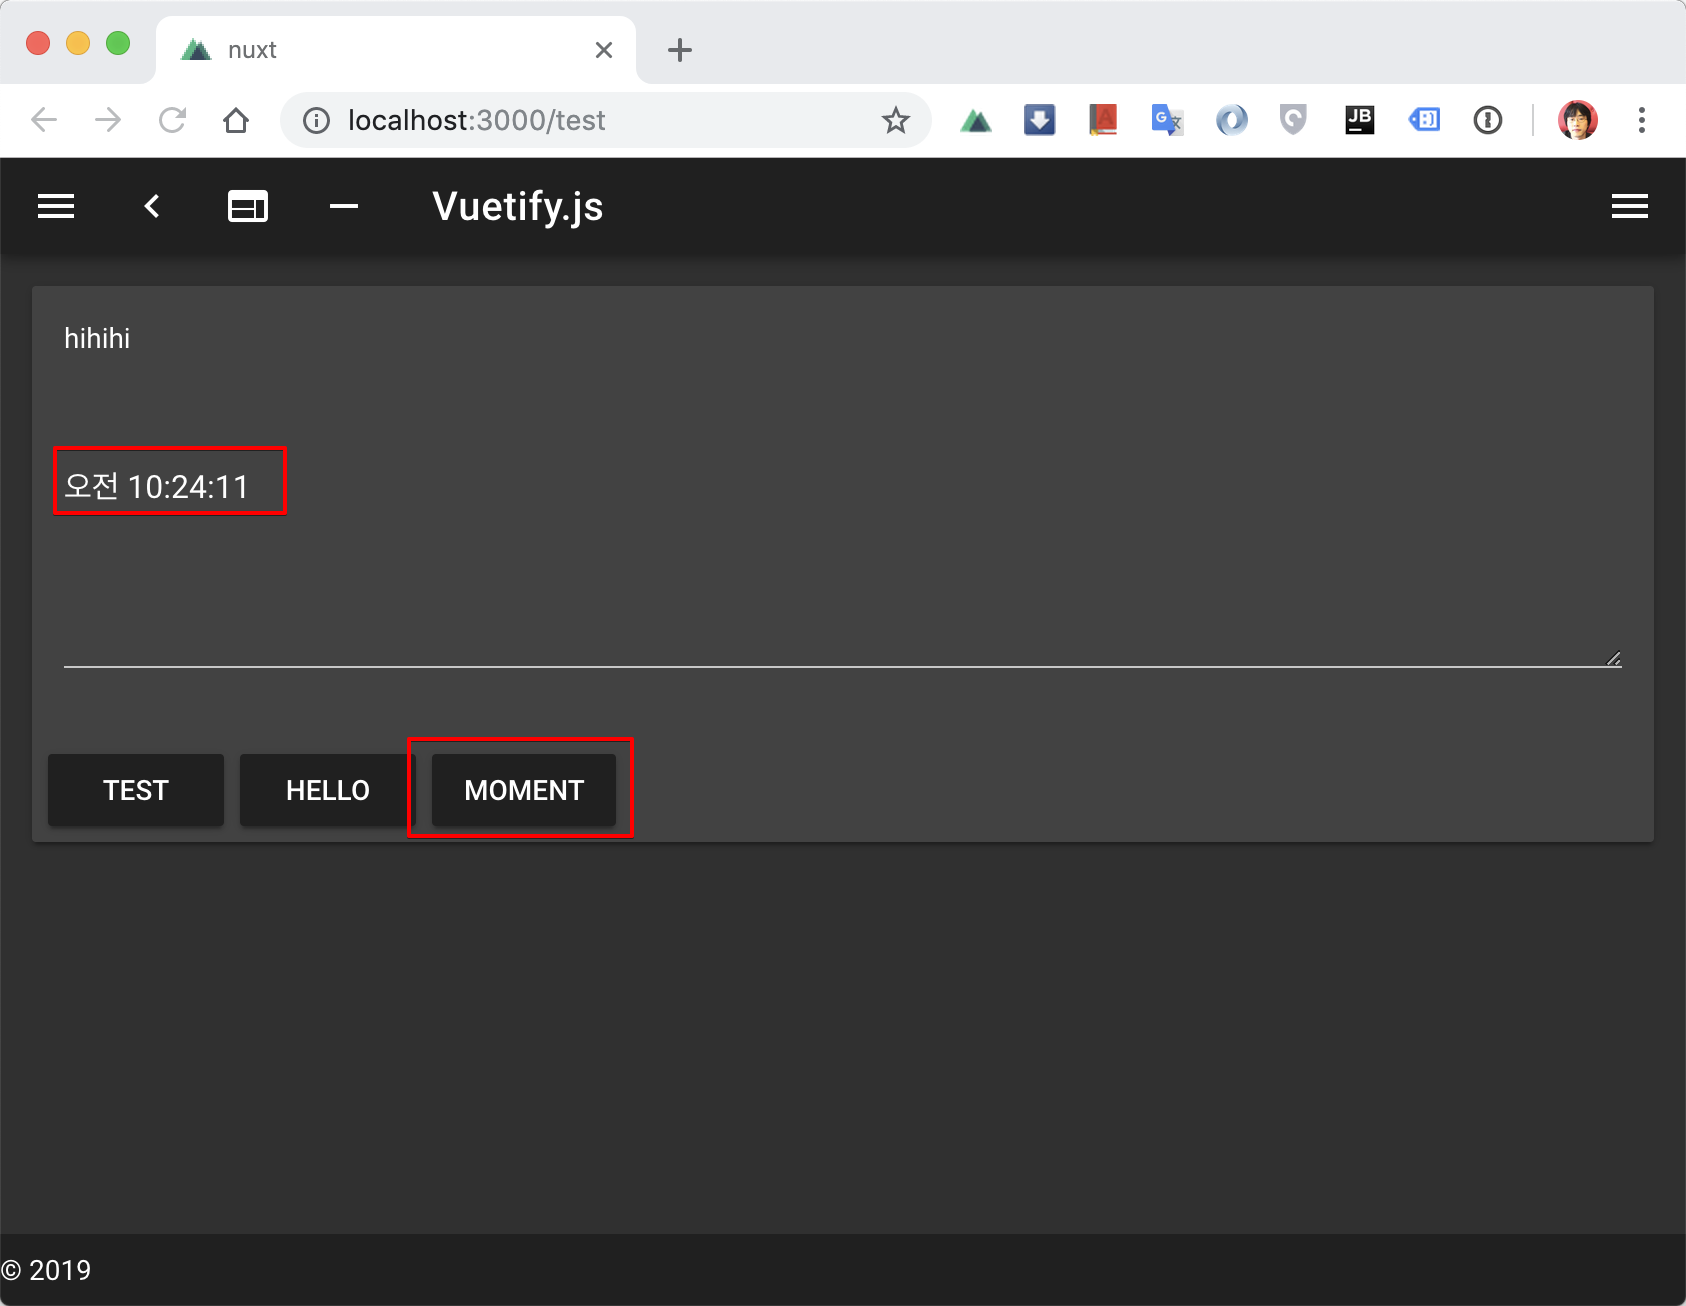
moment() {
this.text = moment()
.toDate()
.toLocaleTimeString()
}
}
}
</script>
프론트 역시 그대로 이용 가능하다는 것을 알 수 있습니다.
프론트 전역 모듈 사용하기
넉스트 이전에는 주로 main.js에 전역 모듈을 프로토타입으로 연결을 해주었죠~
import AnyModule from 'GoodModule'
Vue.prototype.$xx = AnyModule
이렇게 뷰인스턴트에 넣어서 여러 페이지에서 사용했습니다.
엔트리포인트 고찰
그런데 넉스트의 프론트 엔트리포인트(기존: main.js)는 과연 어디일까요?
찾아보니 .next/index.js 가 그 역할을 수행하고 있습니다.
그런데 .next/ 디렉토리는 생성(제너레이트, 스크래치) 되는 디렉토리라 고치면 안됩니다.
무엇보다도 기본 골격을 상처입히지 말고 추가해야하는 것이죠..
플러그에 추가하기
참고: https://nuxtjs.org/guide/plugins
plugin/moment.js
import Vue from 'vue'
import moment from 'moment'

Vue.prototype.$moment = moment
파일(plugin/moment.js)을 추가해서 뷰인스턴트에 추가하면 됩니다.
nuxt.config.js
plugins: ['@/plugins/vuetify', '@/plugins/moment'],
새로운 플러그인을 인식하도록 추가해줍니다.
프론트에서는 이제 this.$moment로 접근이 가능합니다.
귀찮지만 다시 리셋(yarn dev) 해줘야 적용됩니다.
좀더 안전하게 플러그인을 사용하려면 옵션으로 client/server 사용 명시가 가능합니다.
eg) 공식문서 참고
  plugins: [
    { src: '~/plugins/both-sides.js' },
    { src: '~/plugins/client-only.js', mode: 'client' },
    { src: '~/plugins/server-only.js', mode: 'server' }
  ]
플러그인 설치시 고려해야할 것
항상 최선의 대안이 있는지 확인해볼 필요가 있습니다.
모먼트를 쓴다하더라도…
참고: https://github.com/nuxt-community/moment-module
참고: https://www.npmjs.com/package/vue-moment
용도별로 다양하게 있습니다.
만약 플러그인 설치(vue add X) 로 가능한 모듈이라면 플러그인 설치 방식이 제일 좋은 방법이됩니다.
vuetify-dialog 설치해보기
넉스트부터는 모듈 설치시 문서를 잘 참고해야합니다.
참고: https://github.com/yariksav/vuetify-dialog
해당 문서중 Usage with Nuxt.js 부분을 보고 적용하면 됩니다.
$ yarn add vuetify-dialog
먼저 모듈을 설치하고
nuxt.config.js
  modules: [
    // Doc: https://axios.nuxtjs.org/usage
    '@nuxtjs/axios',
    'vuetify-dialog/nuxt' // added
  ],
모듈에 ‘vuetify-dialog/nuxt’ 를 추가해줍니다.
pages/test.vue
<template>
  <!-- -->
      <v-btn @click="dialogOpen">
        dialog
      </v-btn>
    </v-card-actions>
  </v-card>
</template>
<script>
export default {
  data() {
    return {
      text: 'wwww'
    }
  },
  methods: {
    async dialogOpen() {
      const r = await this.$dialog.confirm({
        title: 'hello?',
        text: 'okok??'
      })
      this.text = r ? 'YEEEES' : 'NOOOOOO'
    }
  }
}
</script>
짜잔~ 하고 될 것 같지만 VBtn등이 등록이 안되는 에러가 나옵니다.
사용할 콤포넌트들을 등록해줘야 정상 동작합니다.
참고: 모던웹 알림창 쉽게 구현하기
plugin/vuetify.js
import Vue from 'vue'
import Vuetify, {
  VSnackbar,
  VIcon,
  VDialog,
  VCard,
  VCardTitle,
  VCardText,
  VCardActions,
  VSpacer,
  VBtn,
  VToolbar,
  VToolbarTitle,
  VAlert
} from 'vuetify/lib'
import colors from 'vuetify/es5/util/colors'

Vue.use(Vuetify, {
  theme: {
    primary: colors.blue.darken2,
    accent: colors.grey.darken3,
    secondary: colors.amber.darken3,
    info: colors.teal.lighten1,
    warning: colors.amber.base,
    error: colors.deepOrange.accent4,
    success: colors.green.accent3
  },
  components: {
    VSnackbar,
    VIcon,
    VDialog,
    VCard,
    VCardTitle,
    VCardText,
    VCardActions,
    VSpacer,
    VBtn,
    VToolbar,
    VToolbarTitle,
    VAlert
  }
})
뭔가 부적절한 느낌이지만.. vuetify-dialog에 쓰이는 콤포넌트들을 전부 등록해줘야합니다..

마치며
넉스트가 힘든 이유를 쓰다보니 알 것 같습니다.
이런 3rd party 콤포를 쓸 때, 넉스트 이슈에 대한 접근이 어려운 것이죠.
하지만 편의적인 부분도 많고 하나하나 풀어가는 재미가 있습니다~
소스
깃허브 링크: https://github.com/fkkmemi/nuxt
# 해당 코드 확인하기
$ git checkout tags/v0.0.4
댓글남기기